 Chef Yous
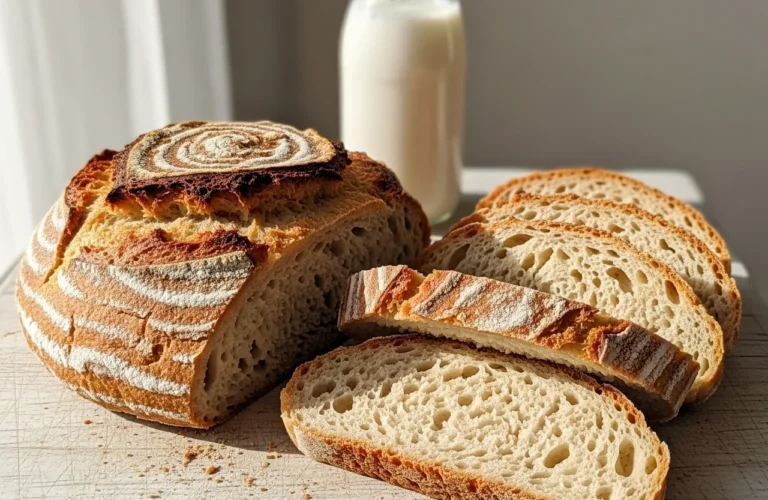
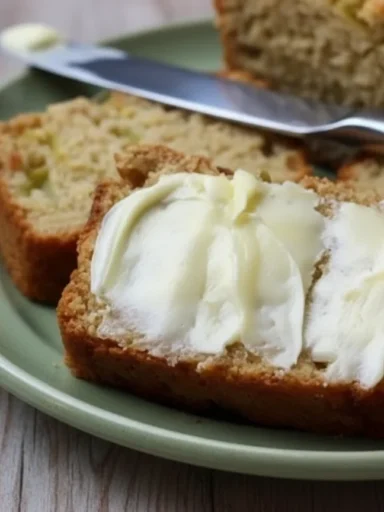
simplest homemade kefir bread is a baking revelation, a true game-changer for anyone who loves the aroma of fresh bread but dreads the fuss. Here at Home Made Blog, we believe baking should be joyful, not a chore, and this fermented delight truly embodies that spirit.
Forget complicated starters and endless kneading; this method strips away the complexity, leaving you with pure, wholesome goodness. If you’re ready to transform your kitchen into a bakery with minimal effort, you’ve come to the right place for the simplest homemade kefir bread experience.
What makes homemade kefir bread the absolute simplest choice for bakers?
The Magic of Kefir Grains
Unlike traditional sourdough that demands a meticulously maintained starter, the simplest homemade kefir bread relies on the robust activity of kefir grains. These little powerhouses do all the heavy lifting, creating a vibrant fermentation that gives your bread incredible flavor and texture. It’s a forgiving process, making the simplest homemade kefir bread accessible to even the most nervous new baker.
Less Fuss, More Flavor
Many of our recipes for the simplest homemade kefir bread embrace a no-knead kefir bread approach. This means you mix, let it rest, and then bake. Imagine: no sticky hands, no arm workouts, just a beautiful dough developing character all on its own. This simplicity doesn’t compromise on taste; in fact, the slow fermentation enhances the depth of flavor in every slice of simplest homemade kefir bread.
A Natural Fermentation Process
Opting for fermented bread recipes like the simplest homemade kefir bread means you’re tapping into ancient baking wisdom. The kefir cultures predigest some of the starches, making the bread potentially easier to digest for many. This natural process is what sets the simplest homemade kefir bread apart, offering a unique profile that’s both tangy and satisfying, perfect for a healthy homemade bread.
Which essential ingredients and steps are crucial for baking your first delicious kefir bread?
Gathering Your Kefir Kitchen Staples
To bake the simplest homemade kefir bread, you’ll need just a few key players: active milk kefir, flour (all-purpose or whole wheat work beautifully), a pinch of salt, and a touch of baking soda. That’s it! The beauty of the simplest homemade kefir bread lies in its minimal ingredient list, proving that extraordinary flavor doesn’t require a pantry full of exotic items. For an even quicker process, check out our guide to easy kefir bread recipe for beginners.
The Easy Mixing Method
Combine your kefir bread starter (the active kefir) with the flour and salt. Mix until just combined – overmixing is the enemy of the simplest homemade kefir bread. The dough will be shaggy, not smooth, and that’s perfectly fine. Let it rest, allowing the kefir to work its magic, transforming simple ingredients into the promise of a delicious loaf of simplest homemade kefir bread.
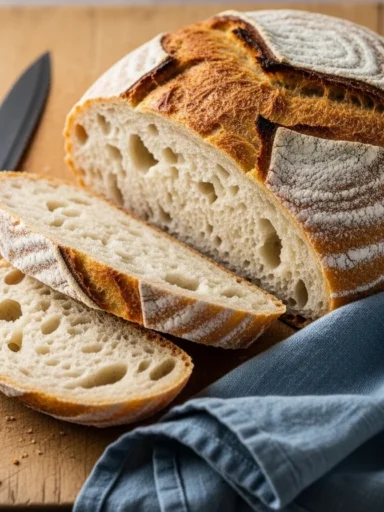
Baking for Golden Perfection
Once rested, gently shape your dough and bake. The exact kefir flour ratio will dictate the dough’s consistency, but don’t fret too much; kefir bread is quite forgiving. You’re looking for a golden-brown crust and a fragrant, airy interior. This straightforward baking process ensures that even your very first attempt at the simplest homemade kefir bread will be a success, a truly rewarding experience.
How can you master the art of troubleshooting common kefir bread challenges for a perfect rise?
Tackling a Flat Loaf
If your simplest homemade kefir bread comes out a bit flat, don’t despair! It often means your kefir wasn’t active enough, or the dough needed a longer proofing time. Ensure your kefir grains are well-fed and bubbly before starting. Sometimes, a slightly warmer spot for the dough to rise can make all the difference for your next batch of simplest homemade kefir bread.
When Your Crust Gets Cranky
A crust that’s too hard or not crispy enough can be frustrating when baking the simplest homemade kefir bread. Often, this is a matter of oven temperature or steam. Baking in a Dutch oven or adding a tray of water to the bottom of your oven can create the perfect steamy environment for a beautiful crust on your simplest homemade kefir bread. We have a great recipe for quick kefir bread without yeast that offers tips on crust perfection.
Decoding Over-Proofing Signs
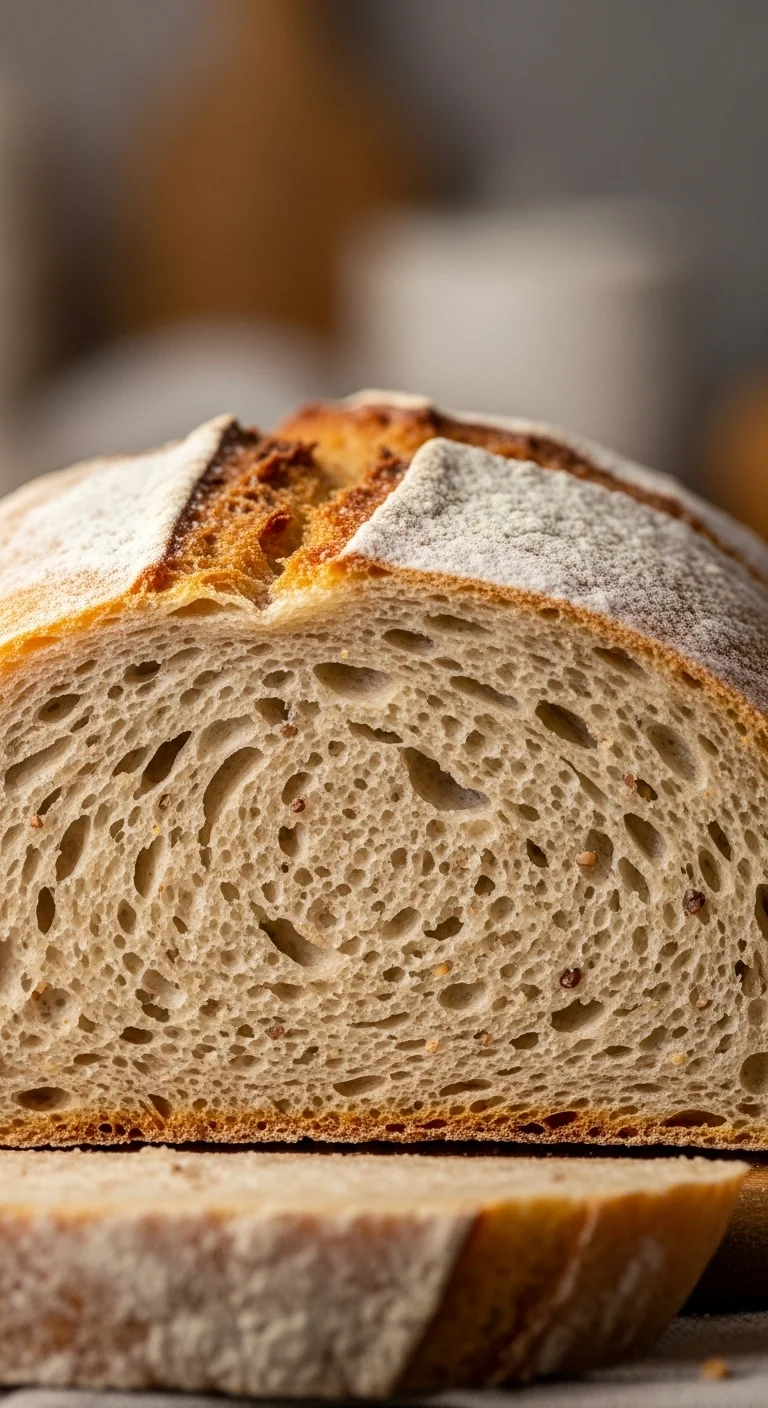
Over-proofed dough for the simplest homemade kefir bread can collapse in the oven or have a dense, gummy texture. Look for signs like a very bubbly, almost deflated appearance before baking. It’s a delicate balance, but with practice, you’ll learn to recognize the sweet spot for your simplest homemade kefir bread’s final rise. Remember, every oven and every batch of kefir is a little different.
What creative variations can transform your basic kefir bread into an extraordinary treat?
Sweet & Savory Add-ins
Once you’ve mastered the simplest homemade kefir bread, the world of variations opens up! Imagine adding dried cranberries and walnuts for a breakfast loaf, or sun-dried tomatoes and herbs for a savory accompaniment to dinner. These additions elevate the simplest homemade kefir bread, making it truly your own. Don’t be afraid to experiment with your favorite flavors.
Global Inspirations
Consider infusing your simplest homemade kefir bread with international flair. A touch of za’atar or caraway seeds can transport your taste buds. For example, a rye flour blend with kefir creates a dense, flavorful loaf reminiscent of European rye breads. The versatility of the simplest homemade kefir bread allows for endless culinary exploration. For inspiration, check out King Arthur Baking’s tips on add-ins for bread.
Beyond the Basic Loaf
Who says simplest homemade kefir bread has to be a standard loaf? Shape it into rolls, flatbreads, or even pizza crusts! The fermentation from the kefir lends itself beautifully to these different forms, offering a unique tang and chew. This adaptability ensures you’ll never tire of baking the simplest homemade kefir bread, always finding new ways to enjoy it. If you’re short on time, try our easy kefir bread no rise time recipe.
Why should you embrace homemade kefir bread for its unique health benefits and how do you store it effectively?
The Gut-Health Advantage
One of the biggest draws of the simplest homemade kefir bread is its potential for gut health benefits. Kefir is packed with beneficial probiotics, and while baking reduces some of these, the fermentation process still breaks down complex carbohydrates, making the bread easier to digest. This makes simplest homemade kefir bread a smart choice for a healthy homemade bread option.
Nutrient Powerhouse
Compared to many commercial breads, the simplest homemade kefir bread can be a nutrient powerhouse. It often contains higher levels of B vitamins and essential minerals, thanks to the kefir. Some even argue that the fermentation process makes these nutrients more bioavailable. It’s a delicious way to support your overall wellness, proving that the simplest homemade kefir bread is more than just tasty.
> “Baking with kefir isn’t just about delicious bread; it’s about harnessing ancient fermentation to create something truly nourishing for your body and soul.” – A Home Made Blog Baker
Keeping Your Loaf Fresh
To enjoy your simplest homemade kefir bread for longer, store it properly. A bread box or a sealed container at room temperature will keep it fresh for 2-3 days. For longer storage, slice and freeze your simplest homemade kefir bread. You can then toast individual slices straight from the freezer, ensuring a fresh, warm piece whenever the craving strikes. For those who love kitchen gadgets, our kefir bread machine easy recipe offers more convenience.
Sourdough vs. Kefir Bread
While both sourdough vs kefir bread offer fermented goodness, the simplest homemade kefir bread often boasts a milder tang and a quicker starter process. Sourdough can be more acidic, while kefir bread has a distinct, almost milky sweetness underlying its fermentation. Both are fantastic, but if ease and a slightly different flavor profile are what you’re after, the simplest homemade kefir bread is your champion. If you’re looking for an even quicker solution, check out our 2 ingredient kefir bread recipe.
Key Takeaways
- Simplicity Reigns: The simplest homemade kefir bread uses minimal ingredients and often requires no kneading, making it perfect for beginners.
- Health Benefits: Enjoy potential gut health advantages and increased nutrient bioavailability from the fermentation.
- Versatility: Easily adapt your basic loaf with sweet or savory add-ins, or shape it into different forms.
- Troubleshooting: Common issues like a flat rise or crust can be easily fixed with minor adjustments to your process.
- Storage: Keep your simplest homemade kefir bread fresh for days at room temperature or freeze for longer enjoyment.


Simplest Homemade Kefir Bread
- Total Time: 45 minutes
- Yield: 1 loaf 1x
- Diet: Vegetarian
Description
This kefir bread is a no-fuss, fermented delight perfect for any baking enthusiast. Enjoy the minimal ingredient list and leave the complexity behind.
Ingredients
- 1 cup active milk kefir
- 3 cups all-purpose flour (or whole wheat)
- 1 teaspoon salt
- 1/2 teaspoon baking soda
Instructions
- Combine the active kefir with flour and salt, mixing until just combined.
- Allow the dough to rest for several hours to let the kefir work its magic.
- After resting, gently shape the dough and preheat your oven.
- Bake until golden-brown with a fragrant, airy interior.
Notes
For variations, consider adding cranberries and walnuts for sweetness or sun-dried tomatoes and herbs for savory flavors.
- Prep Time: 15 minutes
- Cook Time: 30 minutes
- Category: Bread
- Method: Baking
- Cuisine: Global
Nutrition
- Serving Size: 1 slice
- Calories: 200
- Sugar: 1g
- Sodium: 300mg
- Fat: 3g
- Saturated Fat: 1g
- Unsaturated Fat: 2g
- Trans Fat: 0g
- Carbohydrates: 38g
- Fiber: 2g
- Protein: 6g
- Cholesterol: 5mg