 Chef Yous
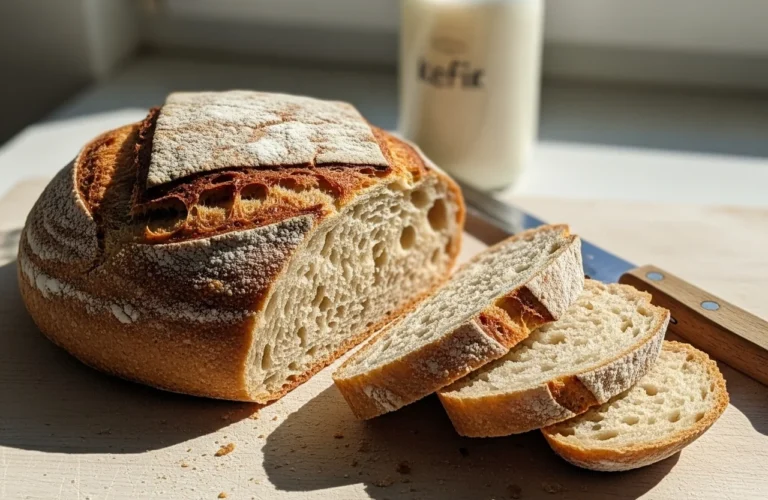
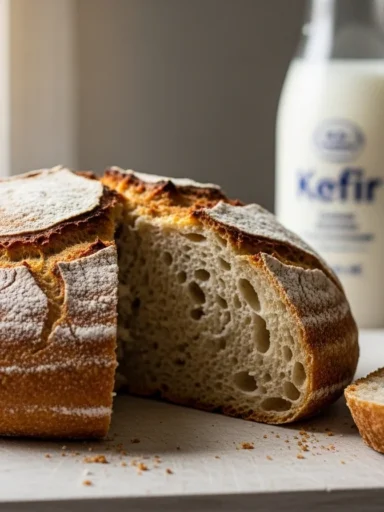
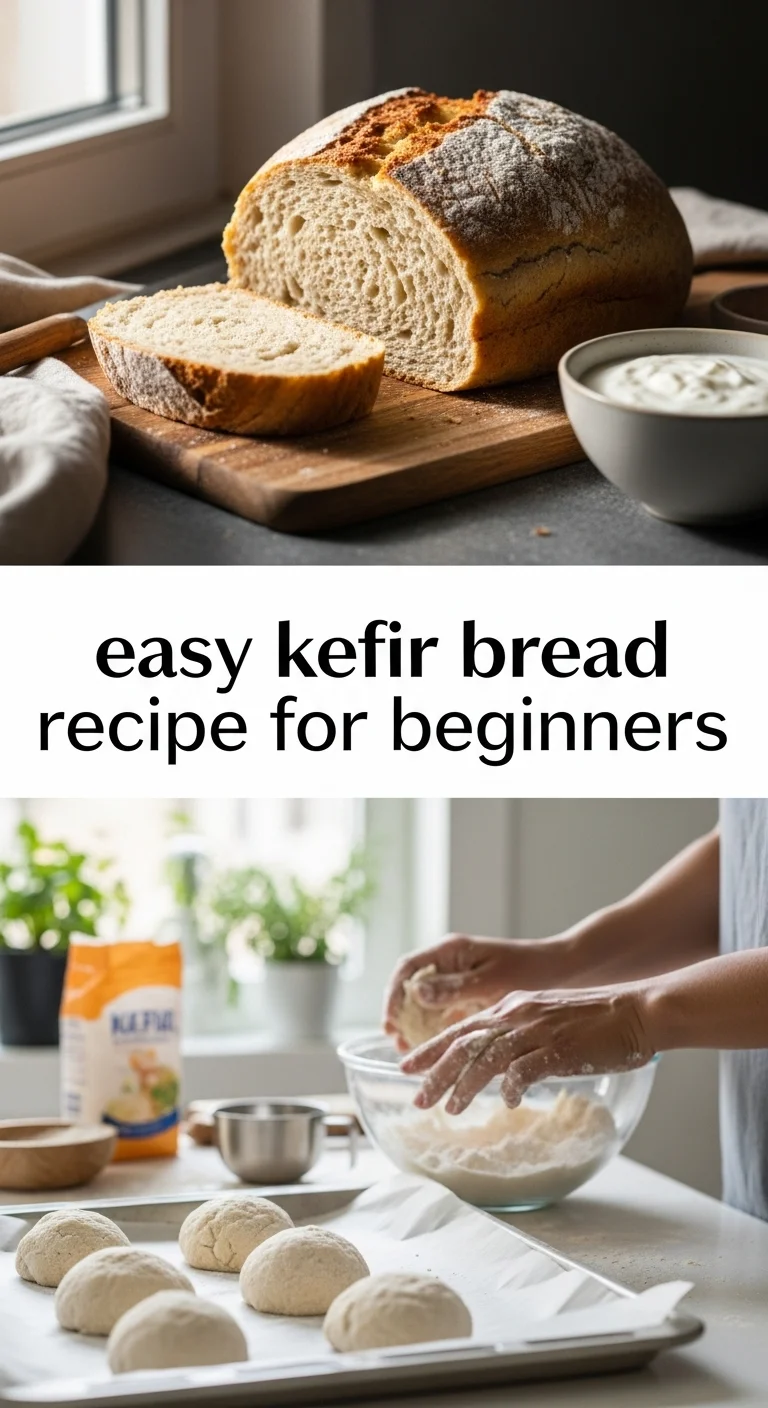
easy kefir bread recipe for beginners is more than just a catchy phrase; it’s an invitation to a world of delightful, gut-friendly baking. If you’ve ever dreamt of pulling a warm, crusty loaf from your oven but felt intimidated by yeast or complex techniques, then this is for you.
Here at kefir cooking , we believe everyone deserves the joy of baking, and this particular easy kefir bread recipe for beginners is your golden ticket. It’s a fantastic `sourdough alternative` that takes the fuss out of fermentation, offering all the health benefits without the steep learning curve.
Get ready to transform simple ingredients into something truly extraordinary with this easy kefir bread recipe for beginners.
What makes easy kefir bread the ultimate starting point for beginner bakers?
The Magic of Fermentation
The secret behind a truly fantastic loaf often lies in the slow, natural process of fermentation. An easy kefir bread recipe for beginners harnesses the power of kefir, a cultured dairy product packed with beneficial bacteria and yeasts.
This not only gives your bread a unique, tangy flavor but also predigests some of the grains, making the bread easier on your stomach. For more on the science, check out this article on fermented foods benefits. Learning an easy kefir bread recipe for beginners means you’re tapping into ancient wisdom for modern wellness.
A Friendly Sourdough Alternative
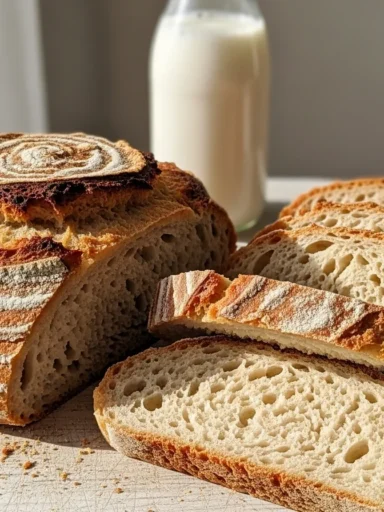
Many aspiring bakers dream of sourdough, but the commitment can feel overwhelming. That’s where an easy kefir bread recipe for beginners shines as a brilliant `sourdough alternative`. You get that wonderful fermented tang and chewy texture without the need for a meticulously maintained sourdough starter.
It’s a lower-stress entry point into fermented baking, making an easy kefir bread recipe for beginners incredibly appealing. You’ll still enjoy those amazing `fermented bread benefits` without the daily feeding schedule.
Effortless No-Knead Techniques
Forget endless kneading and aching arms! A hallmark of a truly easy kefir bread recipe for beginners is its reliance on `no-knead bread techniques`. This method lets time do all the hard work, developing gluten naturally as the dough rests. A simple stir, a long proof, and into the oven it goes. This approach makes an easy kefir bread recipe for beginners perfect for busy schedules and anyone new to the world of baking. It truly simplifies the process, making `homemade kefir bread` accessible to all.
Which essential ingredients and simple tools are indispensable for your first perfect kefir loaf?
Pantry Staples You Already Have
You’ll be delighted to know that an easy kefir bread recipe for beginners uses ingredients you likely already have on hand. We’re talking flour (all-purpose or bread flour works beautifully), a pinch of salt, and perhaps a touch of honey or sugar for flavor and to feed our friendly microbes. That’s really it for the basics of an easy kefir bread recipe for beginners.
The Power of Your Milk Kefir Starter
The star of our show for an easy kefir bread recipe for beginners is, of course, the `milk kefir starter baking` component. You’ll need about a cup or so of active milk kefir – the thicker, slightly tangy kind is best. This living culture is what gives the bread its lift, flavor, and incredible `gut health bread` properties. If you’re new to making your own kefir, check out our guide on how to get started with Kefir Grains.
Basic Kitchen Gear for Success
No fancy equipment is required for an easy kefir bread recipe for beginners. A large mixing bowl, a sturdy spoon or spatula, measuring cups and spoons, and a Dutch oven or a baking sheet are all you’ll need. A kitchen scale can be helpful for precision, but it’s not strictly necessary for your first `homemade kefir bread`. This minimal setup makes an easy kefir bread recipe for beginners even more inviting.
How do you effortlessly follow the step-by-step recipe to bake your first delicious kefir bread?
Mixing Your Way to Success
Your journey to an easy kefir bread recipe for beginners begins with combining your flour, salt, and any optional sweeteners in that large bowl. Then, pour in your active milk kefir. Mix until just combined – don’t overdo it! The dough will be shaggy and sticky, which is exactly what we want for this `no-knead bread techniques` approach. This simple mixing is the first step in mastering an easy kefir bread recipe for beginners.
The Gentle Art of Proofing
Once mixed, cover your bowl and let the magic happen. This is where the kefir cultures get to work, fermenting the dough and developing those wonderful flavors and textures. For an easy kefir bread recipe for beginners, this usually takes 8-12 hours at room temperature, or even longer in the fridge for a more intense flavor. You’ll notice bubbles and a slight rise. For those looking for a quicker option, check out our quick kefir bread without yeast.
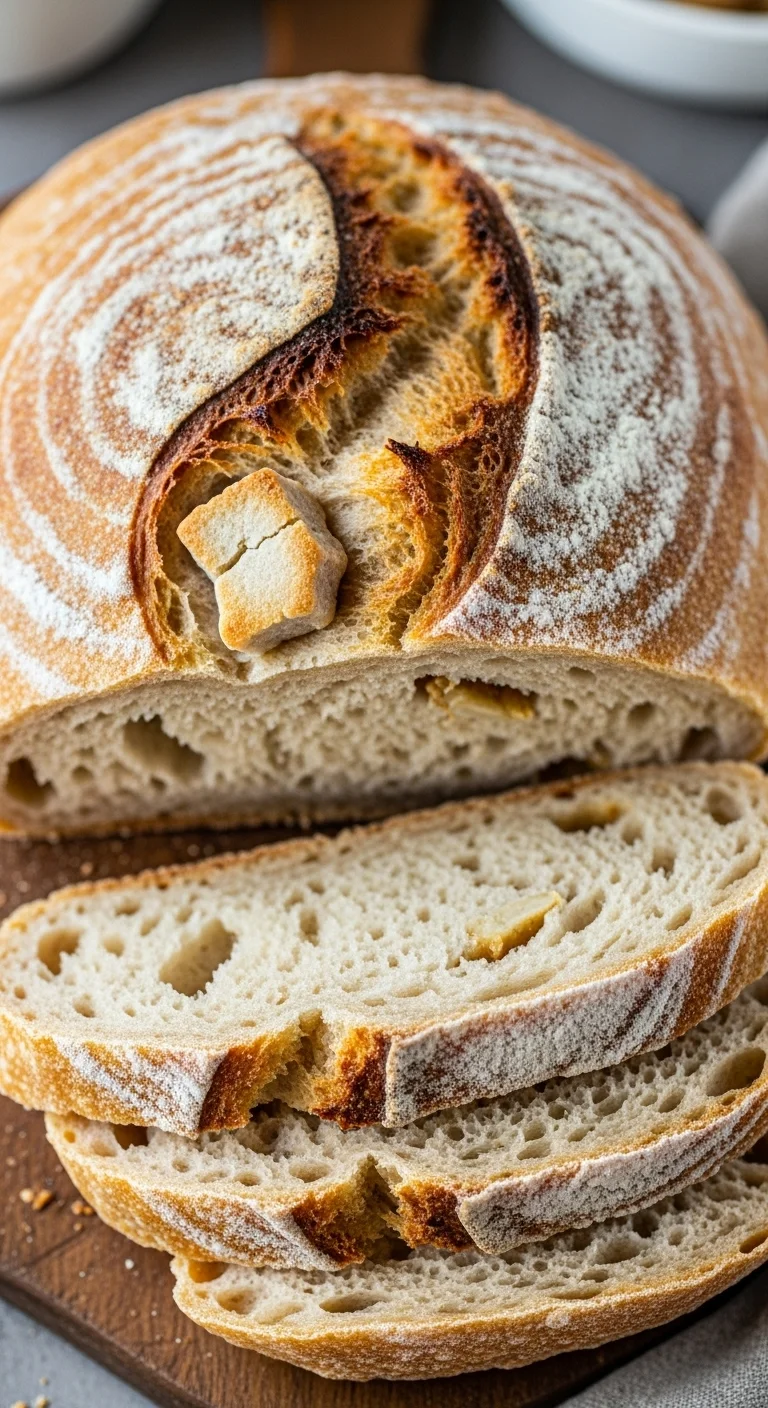
Baking for Golden Perfection
Preheat your oven with your Dutch oven inside (if using). Gently shape your proofed dough on a floured surface – remember, minimal handling is key for an easy kefir bread recipe for beginners. Score the top if you like, then carefully transfer it to the hot Dutch oven. Bake with the lid on for the first part, then remove it to achieve that beautiful golden-brown crust. This final step transforms your efforts into a truly delicious `homemade kefir bread`. You’ll be amazed at the results of this easy kefir bread recipe for beginners.
What common mistakes should beginners absolutely avoid to ensure consistently amazing kefir bread?
Don’t Rush the Ferment
Patience is a virtue, especially with an easy kefir bread recipe for beginners. The fermentation time is crucial for both flavor development and the bread’s structure. Cutting it short will result in a denser loaf with less tang. Trust the process, and let your `milk kefir starter baking` do its job thoroughly. Skipping this step is a common pitfall when trying to master an easy kefir bread recipe for beginners.
Mind Your Measurements
While an easy kefir bread recipe for beginners is forgiving, extreme deviations in ingredient ratios can throw things off. Too much flour might make it dry, too little and it could be too slack. Aim for consistency, especially with your kefir. Using a kitchen scale (even a cheap one!) can really help with `beginner baking tips` and ensure a perfect `homemade kefir bread` every time. Learn more about precise measurements with our simplest homemade kefir bread guide.
Over-handling is a No-Go
Once your dough has proofed, resist the urge to knead it aggressively. Remember, this is an `no-knead bread techniques` recipe. Gentle shaping is all that’s needed to maintain the delicate air bubbles created during fermentation. Over-handling will deflate your dough and lead to a denser crumb, undermining the light texture an easy kefir bread recipe for beginners promises. For a truly easy kefir bread no rise time option, check out our special technique.
> “Baking with kefir isn’t just about making bread; it’s about nurturing a living process that transforms simple ingredients into something nourishing and deeply satisfying. It’s a dance between microbes and flour, yielding a loaf that sings with flavor and history.”
— A seasoned baker
Beyond the basic recipe, how can you creatively customize your kefir bread and unlock its full health potential?
Flavor Boosts and Texture Adventures
Once you’ve mastered the basic easy kefir bread recipe for beginners, the world of customization opens up. Try adding herbs like rosemary or thyme, spices like caraway seeds, or even dried fruits and nuts. Whole wheat flour can be substituted for a portion of the all-purpose flour for a heartier loaf. Each addition transforms your `homemade kefir bread` into a unique creation. Explore our easy one bowl kefir bread for more variations.
Boosting Your Gut Health Bread
To truly amplify the `gut health bread` benefits of your easy kefir bread recipe for beginners, consider adding ingredients known for their fiber content or prebiotics. Chia seeds, flax seeds, or even a spoonful of psyllium husk can boost the nutritional profile. These additions not only add texture but also support a thriving gut microbiome alongside the inherent benefits of the kefir itself. This makes your easy kefir bread recipe for beginners even more powerful. For a super minimalist approach, try our 2 ingredient kefir bread recipe.
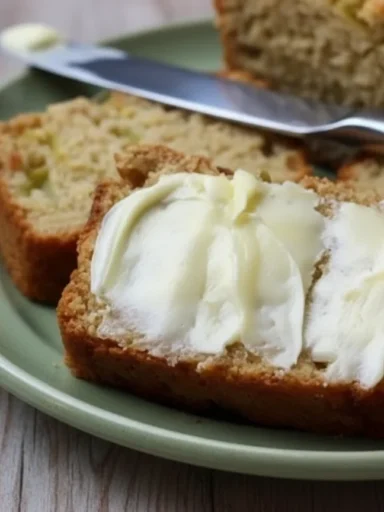
Smart Storage for Lasting Freshness
A freshly baked easy kefir bread recipe for beginners is best enjoyed within a day or two. To keep it fresh longer, store it at room temperature in a bread box or a sealed bag. For longer storage, slice the loaf and freeze portions. This way, you can enjoy the fruits of your `beginner baking tips` whenever a craving strikes, simply by toasting a slice. This ensures your `easy kefir bread machine easy recipe` efforts last. If you’re using a bread machine, check out our kefir bread machine easy recipe.
Key Takeaways
- An easy kefir bread recipe for beginners offers a simple, rewarding path into fermented baking, acting as a great `sourdough alternative`.
- It leverages `no-knead bread techniques` and readily available ingredients, including your `milk kefir starter baking`.
- Patience during fermentation and gentle handling are key to avoiding common `homemade kefir bread` mistakes.
- Customization with seeds, herbs, or different flours can enhance both flavor and the `gut health bread` benefits.
- This truly easy kefir bread recipe for beginners will become a staple in your kitchen.

Easy Kefir Bread Recipe for Beginners
- Total Time: 720 minutes
- Yield: 1 loaf 1x
- Diet: Vegetarian
Description
A simple and rewarding kefir bread recipe perfect for beginner bakers, offering a unique tangy flavor without the need for yeast.
Ingredients
- 3 cups all-purpose flour (or bread flour)
- 1 teaspoon salt
- 1 tablespoon honey or sugar (optional)
- 1 cup active milk kefir
Instructions
- In a large mixing bowl, combine flour, salt, and any optional sweeteners.
- Pour in the active milk kefir and mix until just combined; the dough should be shaggy and sticky.
- Cover the bowl and let the dough ferment at room temperature for 8-12 hours.
- Preheat your oven with a Dutch oven inside.
- Shape the proofed dough gently on a floured surface and transfer it to the hot Dutch oven.
- Bake with the lid on for the first part, then remove the lid to achieve a golden-brown crust.
Notes
Customize your bread with herbs, spices, or nuts for added flavor and texture. Store leftovers in a clean bread box or freeze slices for longer freshness.
- Prep Time: 15 minutes
- Cook Time: 30 minutes
- Category: Baking
- Method: No-Knead
- Cuisine: American
Nutrition
- Serving Size: 1 slice
- Calories: 200
- Sugar: 1g
- Sodium: 300mg
- Fat: 2g
- Saturated Fat: 0g
- Unsaturated Fat: 1g
- Trans Fat: 0g
- Carbohydrates: 42g
- Fiber: 2g
- Protein: 6g
- Cholesterol: 0mg