 Chef Yous
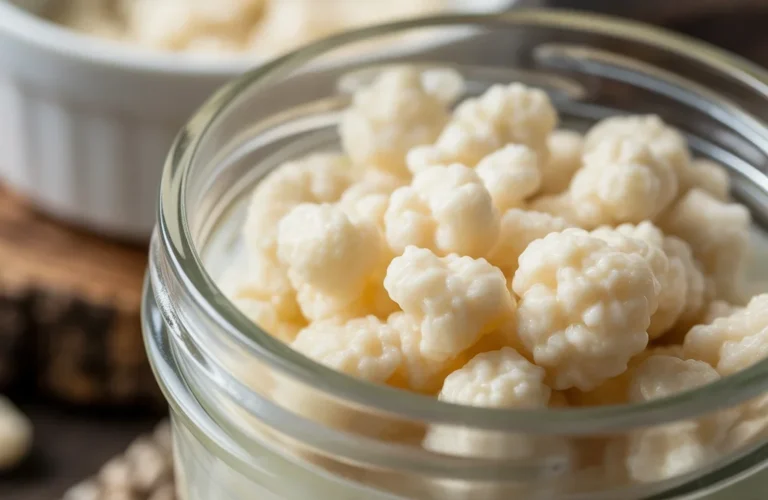
Kéfir grains. If you’ve ever poked around the world of homemade probiotics, you’ve probably heard the name—and maybe you’ve even scratched your head trying to figure out what they are, or why folks are obsessed with them.
I remember being totally overwhelmed just scrolling through all those forums, not sure where to begin or if I’d make my own kitchen science mess. Sound familiar? If you’re ready to kick store-bought yogurt to the curb and dive into DIY gut health, this is your spot.
Oh, and if you want more on probiotic-rich foods, I highly recommend checking out How to Make Kombucha at Home—solid place to start.
What Are Kefir Grains?
Let’s just put this out here: kéfir grains are weird little things, but in a good way. They’re these lumpy, squishy clusters (kinda look like cauliflower—promise, not gross once you get used to it) and they’re packed with good bacteria and yeast.
Drop them in milk, and the magic happens—milk kefir in about 24 hours. It’s pretty much like a science experiment, except you can eat it.
They’re not actually grains like wheat or rice, which made me laugh when I first found that out. Nope.
They’re just called grains because of the shape. Super misleading! Anyway, each tiny piece works overtime, churning out billions of probiotics without you lifting a finger (except maybe to swirl the jar).
Kéfir grains are tough. You don’t need any fancy gadget or secret handshake—just give ’em some milk and you’re basically a five-star wellness chef overnight.
One of my friends once called these little guys “nature’s yogurt factories.” She said,
“I couldn’t believe how easy it was. It felt almost too simple. I just left them on the counter and came back to ‘yogurt magic.’ I’ve never gone back to plain old store stuff.”
Where Do Kefir Grains Come From?
Now, the origin story of kéfir grains is kinda wild—they’ve got a bit of ancient mystery going on. These things are said to come from the Caucasus Mountains, somewhere between Europe and Asia.
Nomadic people there, way back when, would store milk in animal hides. The grains just showed up and started transforming milk. It’s one of those “nature knew best all along” situations.
No one can fully agree on how kéfir grains actually appeared. Some folks think they’re a happy accident, a blend of wild bacteria and yeasts making themselves cozy in milk, and sticking around because nomads noticed whatever came out tasted, well, awesome.
Over centuries, families would just pass down extra grains. So, when you get kéfir grains, you’re sort of inheriting a little biodiversity history lesson in a jar. Feels a bit magical, if you ask me.
Having that in your own kitchen is pretty cool—I mean, who else gets to say they’re fermenting milk like a mountain nomad?
Where To Find Kefir Grains?
So, let’s talk hunting for kéfir grains—not as tricky as it sounds, but still kinda a mini adventure. You can’t really just stroll into a regular grocery store and expect to find them next to the cottage cheese.
One way is asking around health food stores, or even jumping into local Facebook foodie groups. You’d be surprised who’s got extra grains multiplying on their counter and is happy to give some away. Sharing is big in the kefir crowd.
For those of us who want a quick (and less awkward) way, snagging kéfir grains online is super easy now. There are shops specializing in live cultures—just make sure you grab grains for milk kefir, not water kefir, since they’re totally different critters.
And watch out for dehydrated grains. They tend to take longer to wake up, and honestly, I’m too impatient for that.
One last pro tip from my own fumbling—always double-check reviews before buying; nobody needs sketchy grains. Local is great when you can swing it, and online works fine, especially if you’re in a rush to get started.
Getting Started with Milk Kefir Grains
Honestly? If you can make a cup of tea, you can make kéfir. That’s how simple it is.
All you need is:
- Fresh milk (cow, goat, whatever you like—it just can’t be ultra-pasteurized).
- Kéfir grains (not too many, a tablespoon-ish does a decent batch).
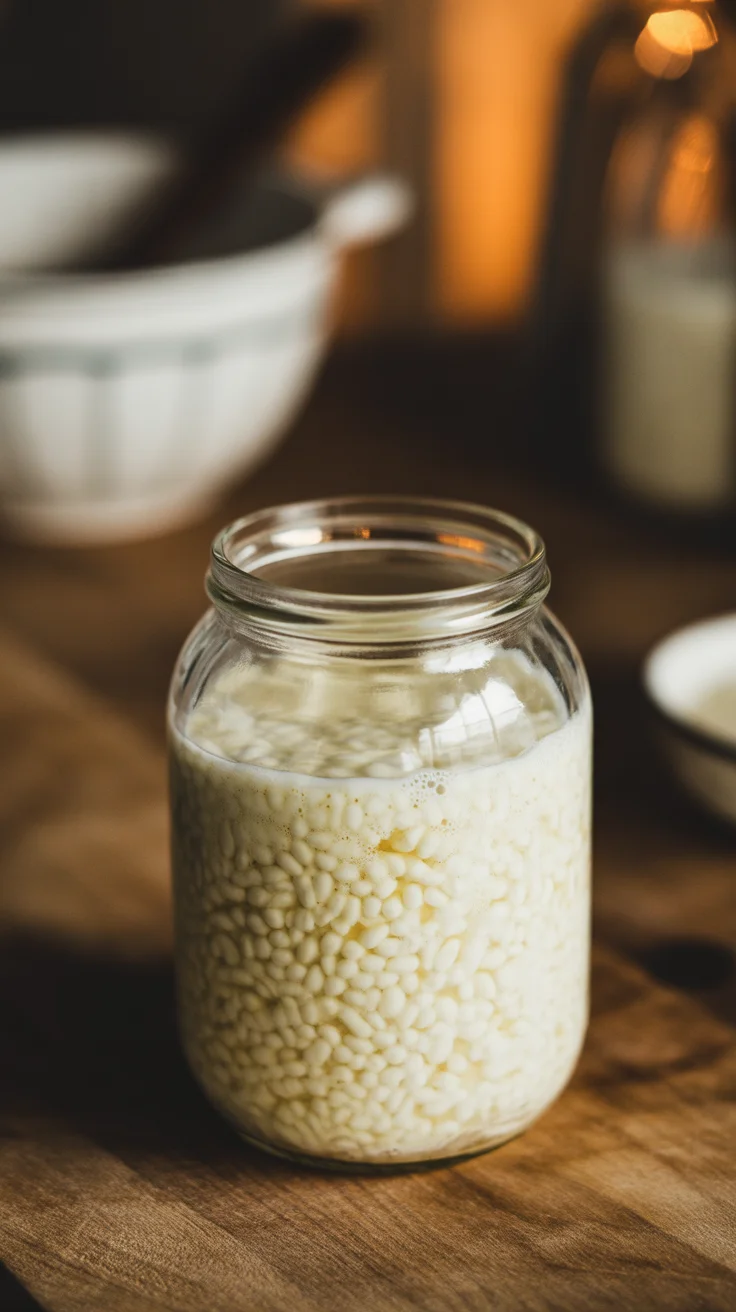
- A clean jar (I use a mason jar because I love that vintage kitchen vibe, but any glass container works).
- A cover (coffee filter or paper towel is fine, just something breathable).
Here’s what you do:
Drop the grains in the milk, cover the jar, then leave it at room temperature for about 24 hours. Next day, strain out the kéfir grains, pop them in a fresh batch of milk (they’re basically immortal), and drink up your homemade probiotic drink. I usually give the jar a little swirl to mix things—makes me feel fancy, like a serious home chef. That’s really it. No lie.
Your first batch might taste a bit tangier, or even surprise you, but that’s normal. The flavor mellows out as the grains get comfy in your home. Give them a week or so, and you’ll start to see why some folks swear by this stuff.
Common Uses and Benefits of Kefir Grains
Okay, so you’ve made your first jar of kéfir. Now what? Drink it straight, for sure, but here’s some fun ways to use it:
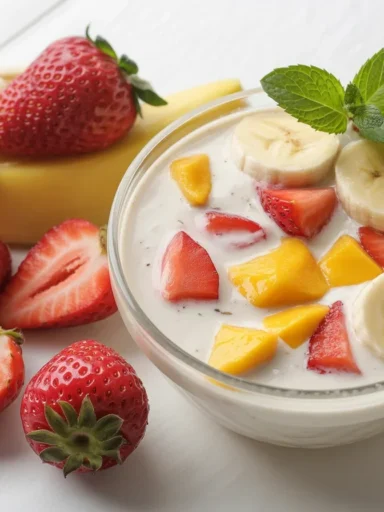
- Pour it over granola or fresh fruit for a simple breakfast.
- Toss some into a smoothie; it adds a tangy kick that’s honestly irresistible.
- Use it instead of buttermilk in pancakes or baked goods, for some serious fluff.
- It’s an awesome base for homemade salad dressings, especially with a bit of dill and garlic.
Benefits? There’s no shortage of chatter about milk kefir. Probiotics can help with gut health, keep your digestion humming, and even do a number on pesky stomach issues. Some people claim their skin got better, or they just felt…perkier.
Not all results are the same, but it’s neat seeing those real-life wins pile up. If you ask me, it’s one of those easy kitchen swaps that actually makes you feel good.

Conclusion
See? Told you kéfir grains are practically magic. They’re cheap, super easy, and honestly, brewing your own probiotics at home just feels legit—makes me feel like a kitchen wizard some days.
Don’t stress if it seems quirky the first go-around. Trust me, once the grains get going, you’ll wonder why you ever bothered with those little store-bought bottles.
If you’re itching to give it a shot, check out this guide to Milk Kefir Grains For Sale | Buy Organic Kefir Granules – Cultures … for some solid options and extra details. And hey, let your kitchen be weird—good things happen when you let food get a little wild.
Print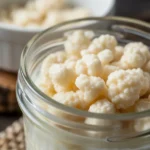
Homemade Milk Kefir with Kefir Grains
- Total Time: 1445 minutes
- Yield: 2 servings 1x
- Diet: Vegetarian
Description
Learn how to easily make delicious homemade milk kefir using kefir grains for a probiotic-rich drink.
Ingredients
- 1 tablespoon kefir grains
- 2 cups fresh milk (cow or goat)
- 1 clean glass jar
- 1 breathable cover (coffee filter or paper towel)
Instructions
- Drop the kefir grains into the fresh milk in the jar.
- Cover the jar with a breathable cover.
- Let the jar sit at room temperature for about 24 hours.
- Strain out the kefir grains and transfer them to a fresh batch of milk.
- Swirl the jar gently and enjoy your homemade probiotic drink.
Notes
Your first batch may taste tangier. Allow grains to adjust for a week for best flavor.
- Prep Time: 5 minutes
- Cook Time: 1440 minutes
- Category: Beverage
- Method: Fermentation
- Cuisine: Fermented
Nutrition
- Serving Size: 1 serving
- Calories: 150
- Sugar: 8g
- Sodium: 100mg
- Fat: 7g
- Saturated Fat: 4g
- Unsaturated Fat: 3g
- Trans Fat: 0g
- Carbohydrates: 11g
- Fiber: 0g
- Protein: 8g
- Cholesterol: 20mg