 Chef Yous
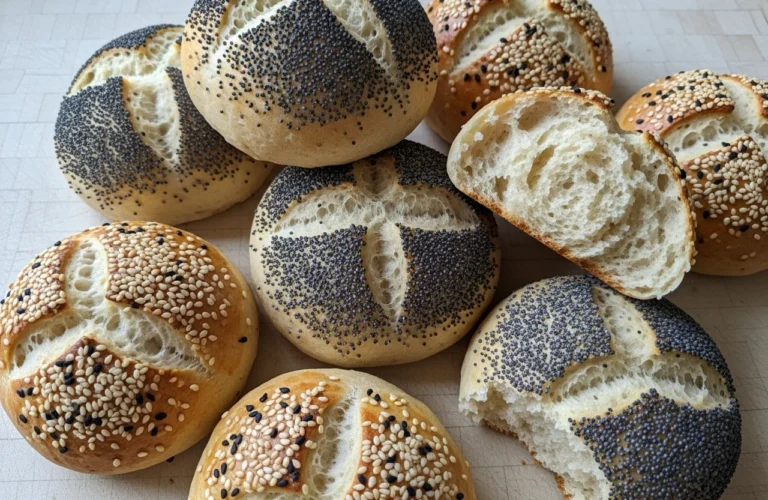
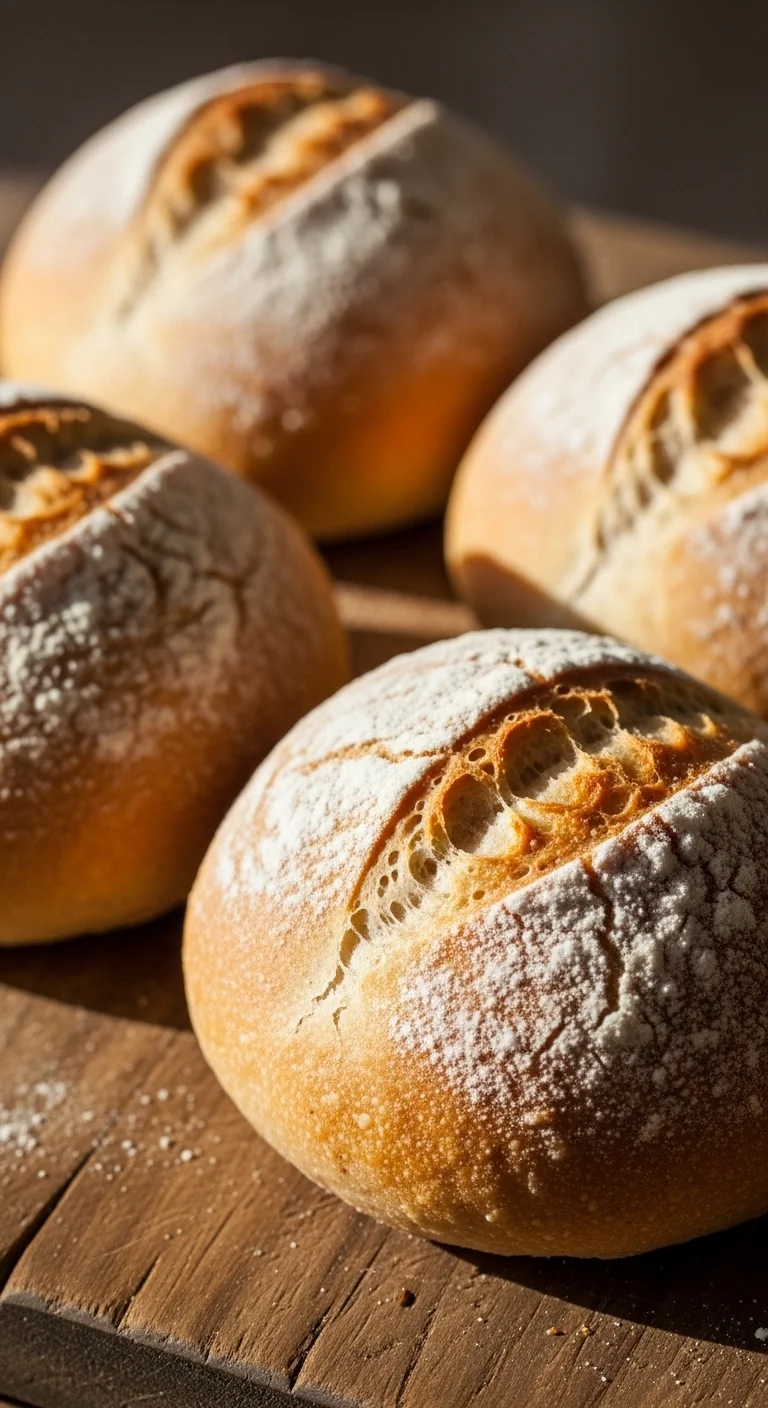
Kefir Bread Rolls are a game-changer for anyone looking to add a healthy, flavorful twist to their baking. When I first started on my journey to better gut health, struggling with IBS, I know firsthand how frustrating it can be to find foods that truly nourish you without causing discomfort. That’s why I’m so excited to share the magic of Kefir Bread Rolls with you here at Kefir Cooking. They aren’t just tasty; they bring a whole host of probiotic benefits right to your dinner table. These rolls are incredibly soft, boast a subtle tang, and are surprisingly easy to make, even for a beginner baker.
What Makes Kefir Bread Rolls a Revolutionary Addition to Your Baking Repertoire?
Forget everything you thought you knew about plain old bread. Kefir Bread Rolls aren’t just another carb; they’re a smart choice for your well-being, packed with goodness that goes beyond basic nutrition. They offer a unique blend of flavor and function that traditional rolls simply can’t match.
Probiotic Powerhouse
One of the biggest draws of Kefir Bread Rolls is their probiotic content. The live cultures in kefir, often used as a kefir starter for baking, work their magic during fermentation, transforming simple flour into something truly special. This means you’re not just eating bread; you’re supporting your gut microbiome with every bite of these delicious Kefir Bread Rolls.
Digestion-Friendly Goodness
For years, bread was a tricky subject for me and my digestive issues. But probiotic bread benefits are real, and kefir makes all the difference. The fermentation process in Kefir Bread Rolls helps break down some of the complex carbohydrates and proteins in flour, making them much easier on your stomach. It’s a healthy bread alternative that doesn’t compromise on taste or texture.
Flavorful Fermentation
Beyond the health perks, the flavor of Kefir Bread Rolls is simply outstanding. The fermentation imparts a lovely, subtle tanginess that elevates the rolls from bland to brilliant. This unique depth of flavor makes these Kefir Bread Rolls incredibly moreish, pairing beautifully with almost any meal.
How Does Kefir Transform Ordinary Bread Rolls into a Gut-Friendly Delight?
It’s not just a splash of liquid; kefir actively changes the chemistry and structure of your dough. Understanding this process helps you appreciate the true artistry behind every batch of Kefir Bread Rolls.
The Magic of Microbes
Kefir is brimming with beneficial bacteria and yeasts. When you add it to your dough for Kefir Bread Rolls, these microorganisms get to work, feasting on the sugars in the flour. This process, known as fermentation, creates lactic acid and other compounds that contribute to the bread’s unique flavor and texture. It’s a beautiful example of fermented dough techniques at play.
Softening and Souring
As the kefir works its magic, it tenderizes the gluten in the flour, resulting in incredibly soft kefir rolls tips often highlight. This means your Kefir Bread Rolls will have a wonderfully tender crumb, a far cry from dense, chewy loaves. The lactic acid also gives them that characteristic mild tang, which is a hallmark of good fermented bread.
Nutrient Boost
Beyond digestibility, the fermentation process can actually increase the bioavailability of certain nutrients in your Kefir Bread Rolls. It’s like giving your ingredients a little nutritional upgrade, making them even better for you. This is another reason why these homemade kefir rolls recipe variations are such a smart choice for your diet.
> “Using kefir in baking is like giving your gut a warm hug. It’s a simple swap that makes a world of difference for both flavor and digestion.” – Michelle, Kefir Cooking
What are the Essential Steps to Crafting Perfectly Soft and Tangy Kefir Bread Rolls?
Ready to get your hands floury? Crafting your own Kefir Bread Rolls is a rewarding process. While it might seem intimidating at first, I promise it’s quite straightforward once you get the hang of it. Here’s how to create those irresistible rolls.
Gathering Your Gut-Loving Ingredients
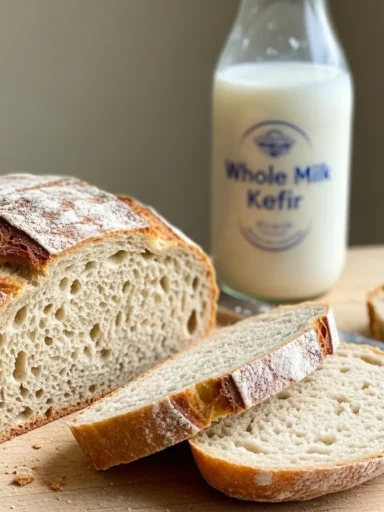
For the best Kefir Bread Rolls, start with quality ingredients. You’ll need fresh kefir (homemade or store-bought), good quality bread flour, a touch of sugar or honey to feed the yeast, salt for flavor, and a little oil or butter for richness. Make sure your kefir is active; it’s the heart of these amazing Kefir Bread Rolls.
The Gentle Art of Kneading
Kneading is crucial for developing the gluten structure that gives Kefir Bread Rolls their chew and rise. You don’t need to be a professional baker; gentle, consistent kneading for about 8-10 minutes by hand or machine will do the trick. The dough for your homemade kefir rolls recipe should feel smooth and elastic when it’s ready.
Patient Proofing for Perfection
This is where the magic really happens for your Kefir Bread Rolls. After kneading, the dough needs time to rise, or ‘proof.’ A warm, draft-free spot is ideal. This slow rise allows the kefir to fully ferment the dough, contributing to both flavor and texture. You’re looking for the dough to roughly double in size, which can take anywhere from 1 to 2 hours, depending on your environment and the activity of your kefir. For more tips on proofing, check out [Internal Link: bread proofing tips].
How Can You Master the Art of Kefir Bread Rolls with Expert Tips and Creative Variations?
Once you’ve got the basic recipe down, the world of Kefir Bread Rolls truly opens up. There are so many ways to customize and perfect your baking, making each batch uniquely yours.
Troubleshooting Common Hiccups
Sometimes, things don’t go exactly as planned. If your Kefir Bread Rolls aren’t rising, check your kefir’s activity and your proofing environment. If they’re too dense, you might need more kneading or a longer proof. Don’t be afraid to experiment; baking is a journey of learning! These soft kefir rolls tips are about patience and observation.
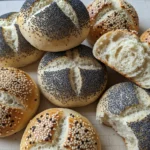
Flavor Enhancements and Add-ins
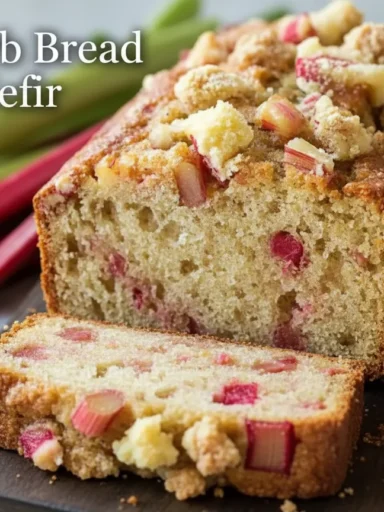
Get creative with your Kefir Bread Rolls! Add herbs like rosemary or thyme for a savory touch. Cheese, garlic, or even sun-dried tomatoes can be folded into the dough for gourmet rolls. For a sweeter version, try a hint of cinnamon and raisins. The versatility of Kefir Bread Rolls is truly endless, making them a fantastic canvas for your culinary imagination.
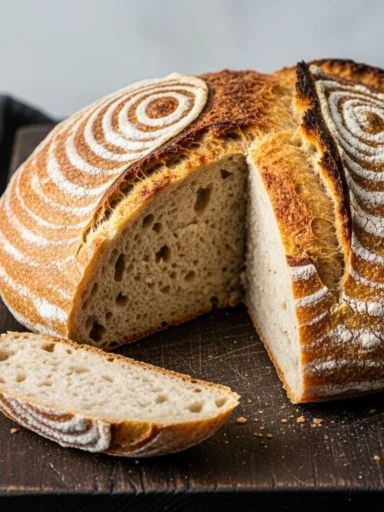
Exploring the Kefir Sourdough Method
For the more adventurous baker, you can even adapt a kefir sourdough method. This involves using a kefir-fed sourdough starter instead of direct kefir, yielding an even more complex flavor profile and incredible texture in your Kefir Bread Rolls. It’s a deeper dive into fermented dough techniques that truly elevates your bread baking. You can find more advanced techniques on [External Link].
What are the Best Ways to Enjoy and Store Your Homemade Kefir Bread Rolls for Maximum Freshness?
You’ve put in the effort, now let’s make sure those beautiful Kefir Bread Rolls are enjoyed to their fullest and last as long as possible.
Serving Suggestions for Every Meal
Warm Kefir Bread Rolls, fresh from the oven, are an absolute delight with a smear of butter. They’re fantastic alongside a hearty soup or stew, perfect for soaking up rich sauces, or as the base for a mini sandwich. These versatile Kefir Bread Rolls truly complement any meal, from breakfast to dinner.
Extending Shelf Life Naturally
While fresh is best, you can keep your Kefir Bread Rolls fresh for a few days. Store them in an airtight container at room temperature. The natural acidity from the kefir actually helps to preserve them slightly longer than conventional rolls. Just remember, these are homemade, so they don’t have the preservatives of store-bought options.
Freezing for Future Feasts
Batch baking is a brilliant idea for Kefir Bread Rolls! Once cooled completely, wrap individual rolls tightly in plastic wrap and then place them in a freezer-safe bag. They’ll keep wonderfully for up to three months. When you’re ready for a fresh roll, simply thaw and warm them gently in the oven or microwave. You’ll always have delicious Kefir Bread Rolls on hand.
Key Takeaways
- Kefir Bread Rolls are a delicious and gut-friendly alternative to traditional bread, offering probiotic benefits and improved digestibility.
- Kefir’s live cultures transform dough, creating soft, tangy rolls with enhanced flavor and texture.
- Patience in kneading and proofing is key to perfectly risen and flavorful Kefir Bread Rolls.
- Don’t be afraid to experiment with flavors and even try a kefir sourdough method for advanced baking.
- Store your homemade Kefir Bread Rolls properly, or freeze them to enjoy their freshness longer.
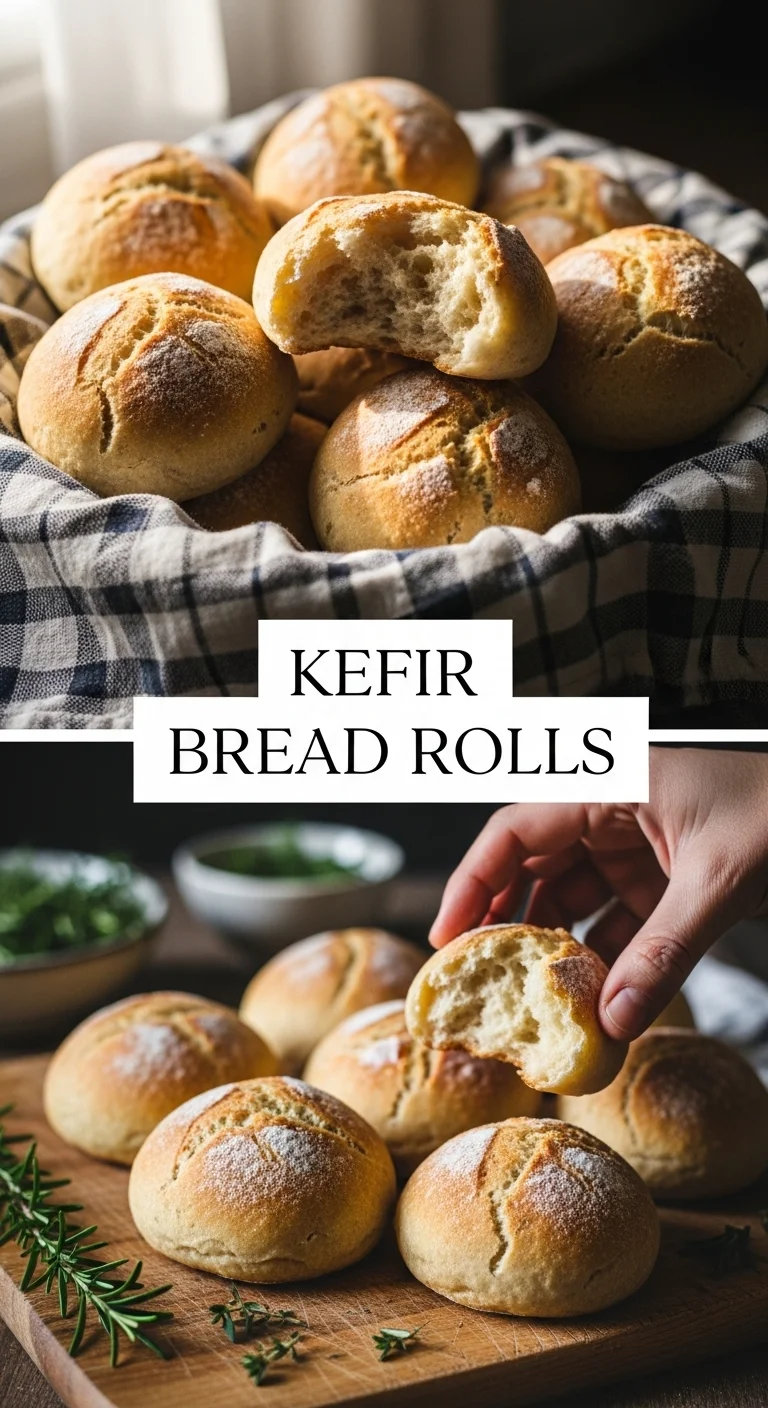
Kefir Bread Rolls
- Total Time: 40 minutes
- Yield: 12 servings 1x
- Diet: Vegetarian
Description
Delicious and gut-friendly Kefir Bread Rolls that are soft, tangy, and packed with probiotic benefits.
Ingredients
- 1 cup fresh kefir (homemade or store-bought)
- 3 cups bread flour
- 2 tablespoons sugar or honey
- 1 teaspoon salt
- 2 tablespoons oil or butter
Instructions
- In a large bowl, mix together the kefir, sugar, salt, and oil.
- Add the flour gradually, mixing until a dough forms.
- Knead the dough on a floured surface for 8-10 minutes until smooth and elastic.
- Place the kneaded dough in a warm spot to proof for 1-2 hours, or until it doubles in size.
- Preheat the oven to 375°F (190°C).
- Shape the dough into rolls and place them on a baking sheet.
- Bake for 20-25 minutes or until golden brown.
- Let cool slightly before serving warm.
Notes
These rolls pair beautifully with soups or can be used for mini sandwiches. Experiment with different herbs and fillings for unique variations.
- Prep Time: 15 minutes
- Cook Time: 25 minutes
- Category: Baked Goods
- Method: Baking
- Cuisine: American
Nutrition
- Serving Size: 1 roll
- Calories: 150
- Sugar: 5g
- Sodium: 180mg
- Fat: 5g
- Saturated Fat: 2g
- Unsaturated Fat: 3g
- Trans Fat: 0g
- Carbohydrates: 22g
- Fiber: 1g
- Protein: 4g
- Cholesterol: 10mg